Learning how to organize a small pantry starts with removing decisions, not buying matching containers. A tiny pantry works when every shelf has a job and the foods you use most are easy to reach. The goal is a pantry that helps you cook, not a cabinet that only looks nice for one afternoon.
If your pantry is only one cabinet, one narrow closet, or two shelves in an apartment kitchen, the same system still works.
How to Organize a Small Pantry: The 5-Zone Method
A small pantry needs fewer zones, not more. Use five:
| Zone | Best For | Where to Put It |
|---|---|---|
| Daily basics | oats, rice, pasta, coffee, bread | eye level or easiest shelf |
| Meal builders | canned beans, tomatoes, broth, tuna | middle shelf |
| Snacks | crackers, bars, chips, nuts | one bin or basket |
| Baking and extras | flour, sugar, oil, spices | upper or lower shelf |
| Backstock | unopened duplicates | back of shelf or separate bin |
If an item does not fit one of these zones, ask whether it belongs in the pantry at all.
Step 1: Empty One Shelf, Not the Whole Kitchen
A full pantry cleanout can turn into a floor pile that stays there all day. Start with one shelf or one cabinet.
Remove everything from that small area. Wipe the shelf. Then sort items into three groups:
- keep and use soon
- duplicate or backstock
- expired, stale, or not worth keeping
Do not reorganize around food you will never eat.
Step 2: Make a Use-First Bin
Small pantry clutter often comes from half-used packages. Put those items in one visible bin.
Examples:
- open pasta boxes
- half-used rice bags
- single oatmeal packets
- opened crackers
- older canned goods
Label it mentally as the use-first bin. Before writing a grocery list, check that bin and build one meal around it.
If the use-first bin saves you from buying one $4 duplicate every week, that is about $16 kept in the budget each month.
Step 3: Use Shelf Depth Carefully
Small pantries lose items in the back. That is how you end up with three jars of peanut butter and no pasta sauce.
Use this front-to-back rule:
- front: open items and daily basics
- middle: next-up items
- back: unopened duplicates only
If you cannot see the back row, use a small box as a drawer. You do not need expensive bins. A clean shoebox, dollar-store basket, or reused delivery box can work.
Step 4: Give Snacks a Boundary
Snacks can take over a small pantry faster than pantry staples. Give snacks one bin, one shelf section, or one basket.
When the snack zone is full, do not add more until something is used. This keeps the pantry from becoming a pile of half-open bags.
This is also useful after a no spend challenge, because snacks become one visible spending category instead of a hidden leak.
Step 5: Decant Only What Helps
Clear containers can look beautiful, but they are not always necessary. Decant only when it solves a real problem.
Good reasons to decant:
- the original bag spills easily
- the item is used every week
- the package is too large for the shelf
- you need to see how much is left
Bad reasons to decant:
- every pantry photo online has matching jars
- you feel like organizing is not complete without buying something
- the container costs more than the food inside it
For most small pantries, 3-5 containers are enough.
Step 6: Put Heavy Items Low
Cans, jars, large rice bags, and oil bottles should sit on lower shelves when possible. This makes the pantry safer and easier to use.
Keep light items higher:
- tea
- paper goods
- extra napkins
- baking cups
- lightweight snacks
If you rent and cannot install shelves, use stackable bins only if they are stable and easy to pull out.
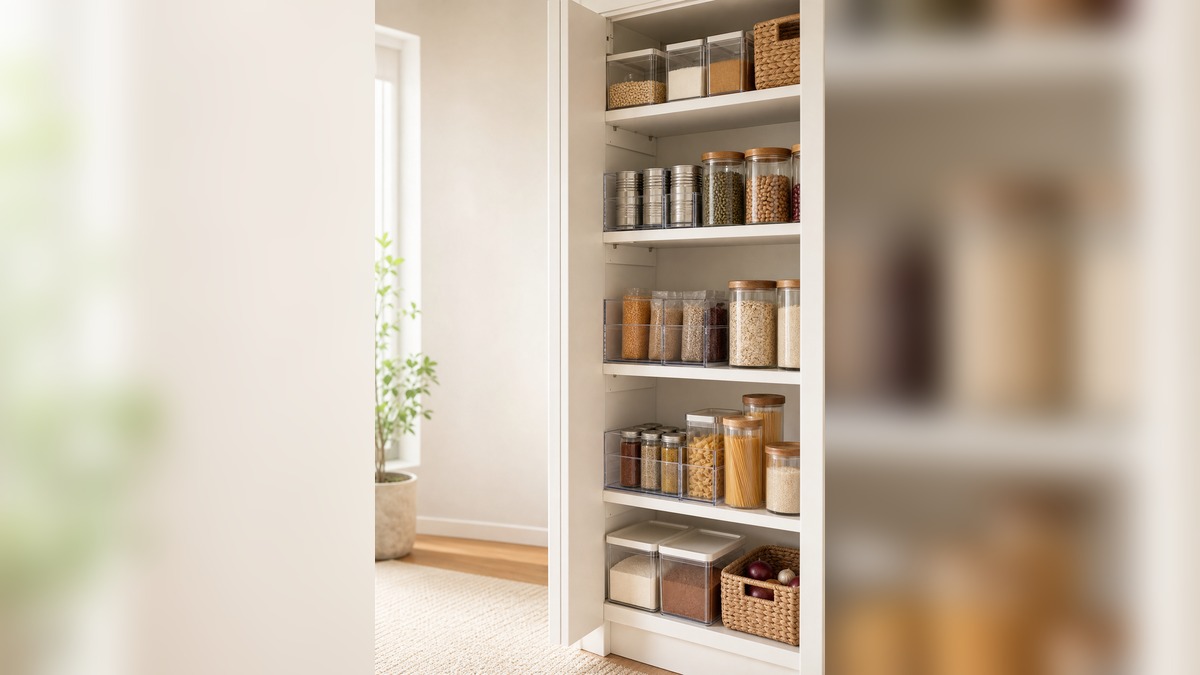
Small Pantry Layout Example
Here is a simple layout for a narrow cabinet:
| Shelf | What Goes There |
|---|---|
| Top | baking extras, overflow, rarely used items |
| Eye level | daily breakfast items, rice, pasta, coffee |
| Middle | canned meal builders and use-first bin |
| Lower | heavy jars, oil, bulk items |
| Door or side basket | spices, packets, small snacks |
The best layout is the one you can maintain on a tired Tuesday night.
What Not to Buy Yet
Before buying storage, wait one week. Use the pantry first and notice what actually bothers you.
Do not buy these first:
- a full matching container set
- deep bins that hide food
- tiny labels for items you rarely use
- turntables for square shelves unless they solve a corner problem
- more baskets than you have categories
If the pantry is part of a bigger apartment clutter problem, start with the same simple zone mindset used in small apartment entryway organization.
Food Safety Note
Shelf-stable foods still need safe storage. The Nutrition.gov safe food storage resources are a good starting point for checking storage basics before keeping pantry items long term.
FAQ
What is the best way to organize a very small pantry?
Use fewer zones: daily basics, meal builders, snacks, baking extras, and backstock. Keep the most-used foods at eye level.
Do I need clear containers for a small pantry?
No. Clear containers help for messy bags or weekly staples, but you do not need a full matching set. Start with bins or boxes you already own.
How do I stop buying duplicate pantry items?
Create a backstock zone and check it before shopping. Keep duplicates behind the open item so you can see what needs to be used first.
Where should snacks go in a small pantry?
Put snacks in one bin or one shelf section. When that space is full, wait before buying more snacks.
How often should I reset my pantry?
A 10-minute weekly reset is better than a huge monthly cleanout. Check open items, wipe spills, and move older food to the front.
Final Takeaway
A small pantry does not need more stuff. It needs clear zones, visible food, and a short weekly reset that helps you use what you already bought.