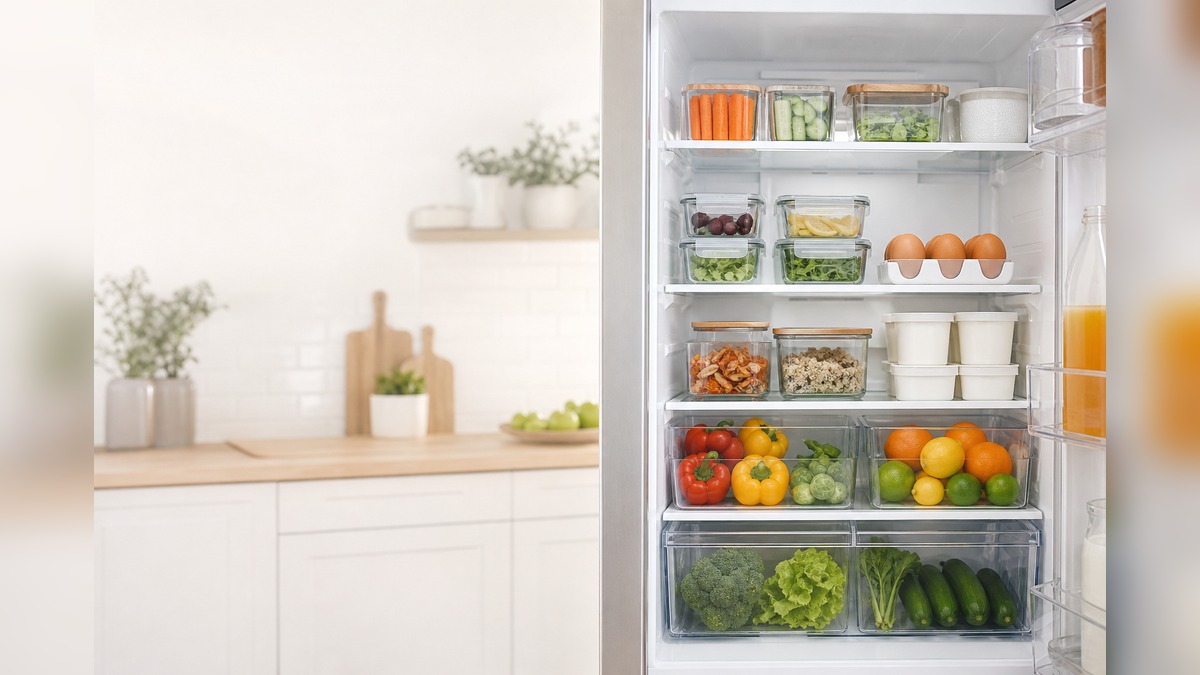
A useful fridge organization before and after is not about matching bins. It is about opening the door and seeing dinner, leftovers, and food that needs to be used first. If your fridge looks full but you still buy duplicates, start with the 15-minute reset below.
Fast win: create one eye-level “eat first” zone today. Put leftovers, opened produce, and food close to expiring in that spot. If nothing else changes, this one shelf can reduce duplicate buying and forgotten food.
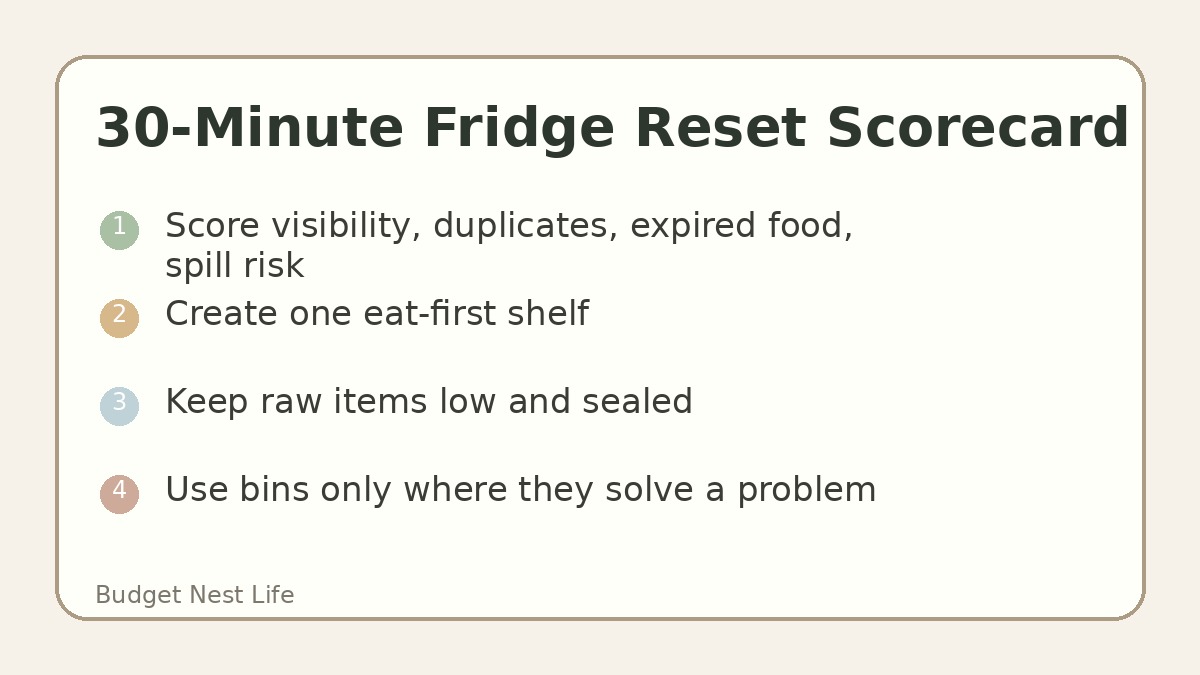
Before You Buy Bins, Score the Fridge
| Score Area | Before Question | After Goal |
|---|---|---|
| Visibility | Can you see leftovers without moving several items? | leftovers visible at eye level |
| Duplicates | Do you have two open jars, sauces, or containers? | one open item plus backstock only if needed |
| Food safety | Are raw items stored below ready-to-eat food? | raw items sealed and low |
| Produce | Is produce hidden until it spoils? | produce grouped by use date |
| Door clutter | Are leftovers or dairy hiding in the door? | door mainly condiments and drinks |
Take a quick photo before you start. The photo is not for social media; it shows what problem you are actually fixing.
The 15-Minute Fridge Reset
- Pull out obvious trash, expired items, and mystery containers.
- Wipe only the empty spots you expose. Do not turn this into a full deep clean.
- Group food into five piles: eat first, meal builders, produce, condiments, raw/uncooked.
- Put the eat-first zone at eye level.
- Put raw ingredients low and sealed.
- Put condiments in the door.
- Take the after photo and check whether dinner is easier to see.
Fridge Zone Map That Works in Real Life
| Zone | Best Use | Why It Works |
|---|---|---|
| Eye-level shelf | leftovers, cooked food, opened produce | you see what must be used first |
| Top shelf | ready-to-eat snacks, yogurt, drinks | easy grab items stay together |
| Middle shelf | meal builders such as eggs, tortillas, cooked grains | dinner ingredients are faster to find |
| Lower shelf | sealed raw ingredients or larger containers | lowers spill risk |
| Drawers | produce grouped by type or use date | prevents a single hidden drawer of waste |
| Door | condiments, sauces, drinks | temperature changes matter less for these items |
Do not force a zone that fights your habits. If lunch packing is the daily pain point, make a lunch zone. If dinner is the issue, make a dinner shelf.
Before and After Example
| Problem Before | Change Made | Result After |
|---|---|---|
| leftovers hidden in the back | clear container at eye level | lunch is easier to grab |
| three open sauces | one door row for open condiments | duplicates are obvious |
| produce forgotten in drawer | use-first produce bin | fragile food gets used earlier |
| raw items above ready food | raw items sealed low | safer layout and fewer spills |
| snacks scattered | one snack area | fewer half-open packages |
A good after photo should look calmer, but the real test is simpler: can you choose a meal in under 30 seconds?
What Not to Put Where
Do not put leftovers in the door
The door is easy to forget and changes temperature more than the main shelves. Keep leftovers where you can see them.
Do not pack shelves edge to edge
Cold air needs room to move. If every shelf is packed tight, the fridge is harder to use and easier to waste.
Do not buy a matching bin set first
Measure the shelf, test zones with containers you already own, and buy only the bin that solves a repeated problem.
Do not hide “use soon” food in drawers
Drawers are useful for produce, but they are also where good intentions disappear. If something must be eaten soon, keep it visible.
Budget-Friendly Organizer Choices
| Problem | Free First Try | Buy Only If Needed |
|---|---|---|
| leftovers disappear | one labeled shelf | clear stackable containers |
| snacks scatter | shoebox or small basket | narrow fridge bin |
| produce spoils | towel-lined drawer section | produce keeper |
| bottles fall over | group by height in door | turntable for deep shelf |
| duplicate buying | open-item row | label clips or marker |
The cheapest fridge organizer is a rule you can repeat: open items in one place, leftovers at eye level, and a five-minute check before grocery day.
Weekly Fridge Check
Do this before making a grocery list:
- Move leftovers to the eat-first zone.
- Check produce that needs to be cooked soon.
- List duplicate condiments before buying more.
- Choose one “use it up” meal.
- Wipe spills while the shelf is already visible.
This check connects well with a cheap grocery list for two weeks because it stops you from buying what is already hiding at home.
Helpful Source
For food storage safety basics, see Nutrition.gov safe food storage resources. Use safety guidance first, then adjust the zones to fit your kitchen.
FAQ
What is the best first step for fridge organization?
Start with an eat-first zone at eye level. It is faster than a full cleanout and immediately shows which food should be used before you buy more.
Do I need clear bins for a fridge before and after?
No. Clear bins can help, but only after you know the problem. Test the layout with bowls, old containers, or a single shelf rule first.
Where should leftovers go in the fridge?
Put leftovers in a visible spot at eye level, not in the door or hidden behind raw ingredients. Use clear containers when possible.
How often should I reset the fridge?
Do a five-minute check before grocery shopping and a deeper reset when shelves become hard to see. Weekly is enough for many homes.
Tiny Fridge, Apartment Fridge, or Shared Fridge Adjustments
Small fridges need fewer zones, not more containers. Use three zones if space is tight.
| Small-Fridge Zone | What Goes There |
|---|---|
| Eat first | leftovers, open produce, food close to expiring |
| Meal builders | eggs, tortillas, dairy, cooked grains, planned proteins |
| Long-life items | condiments, drinks, sealed backstock |
If you share a fridge, use one labeled bin or one shelf section for your eat-first food. The label is less about being fancy and more about preventing food from being pushed behind someone else’s items.
Grocery-Day Fridge Reset
Do this before shopping, not after. It takes less time to plan when you know what is already open.
- Pull the eat-first items to the front.
- Check if any produce can become soup, pasta, eggs, or rice bowls.
- Count open sauces and condiments.
- Move one leftover into tomorrow’s lunch plan.
- Wipe the shelf where new groceries will go.
This small reset protects the grocery budget. If the fridge already has half a cabbage, eggs, yogurt, and leftovers, the grocery list should use them instead of ignoring them.
What a Good After Photo Should Show
A good after photo does not need matching labels. It should show fewer decisions. Leftovers should be visible. Raw items should not sit above ready-to-eat food. Condiments should not take over the main shelf. Produce should have a plan. If the after photo only looks prettier but dinner is still hard to find, the reset missed the point.
Final Takeaway
The best fridge organization before and after is the one that changes what you do next: fewer duplicates, faster meals, safer storage, and less food forgotten in the back.